My iSpy Agent DVR system
iSpy Agent DVR docker setup running as a service

I'm excited to report on some cool technology I've been able to play with recently: The iSpy DVR agent video surveillance system.
For years I've been playing around with IP cameras, but I've never incorporated them into anything really useful. When we moved into our current house I found it to have a couple of Sercomm PoE cameras installed around the parameter, but they were integrated into the old security systems and wouldn't readily integrate with any of my equipment.
Flash forward a couple of years, I managed to figure out how to log into both the Sercomms and operate them in a stand-alone fashion along side an old DLink IP cam I had laying around. This was hardly ideal however so I began searching for an opensource project in which I could integrate my cameras. After some trial and error I landed on iSpy, which I've now been using hardcore for over 6 months. It works very well for my patchwork infrastructure so I thought I'd share some of the particular configurations I'm running.
First off, iSpy is, at it's core, a Digital Video Recording (DVR) tool. It takes in video feeds and records them to storage following whatever parameters you give it. The really cool part about it is that it integrates with a huge number of off-the-shelf IP cameras, of which you can run as many as your server can connect. The code is open source, which I like, and is relatively easy to setup and run, though I'll spare you the tutorial. See their website for more information on installations, pricing, and features.
The software runs on common resources, so there is nothing super special or propriatary needed for setting it up. However, my system is a little unique so I wanted to share particularly for any looking into repurposing equipment.
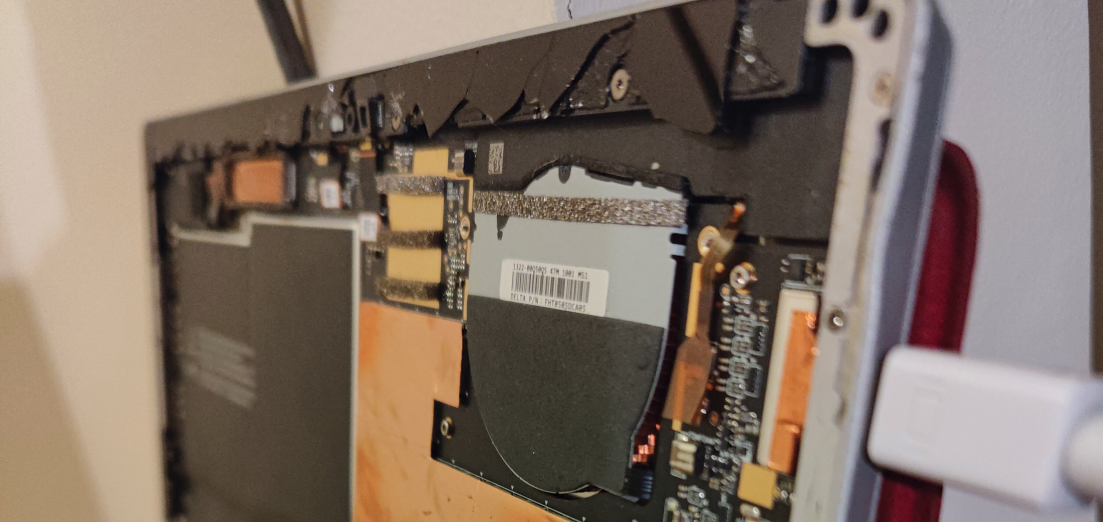
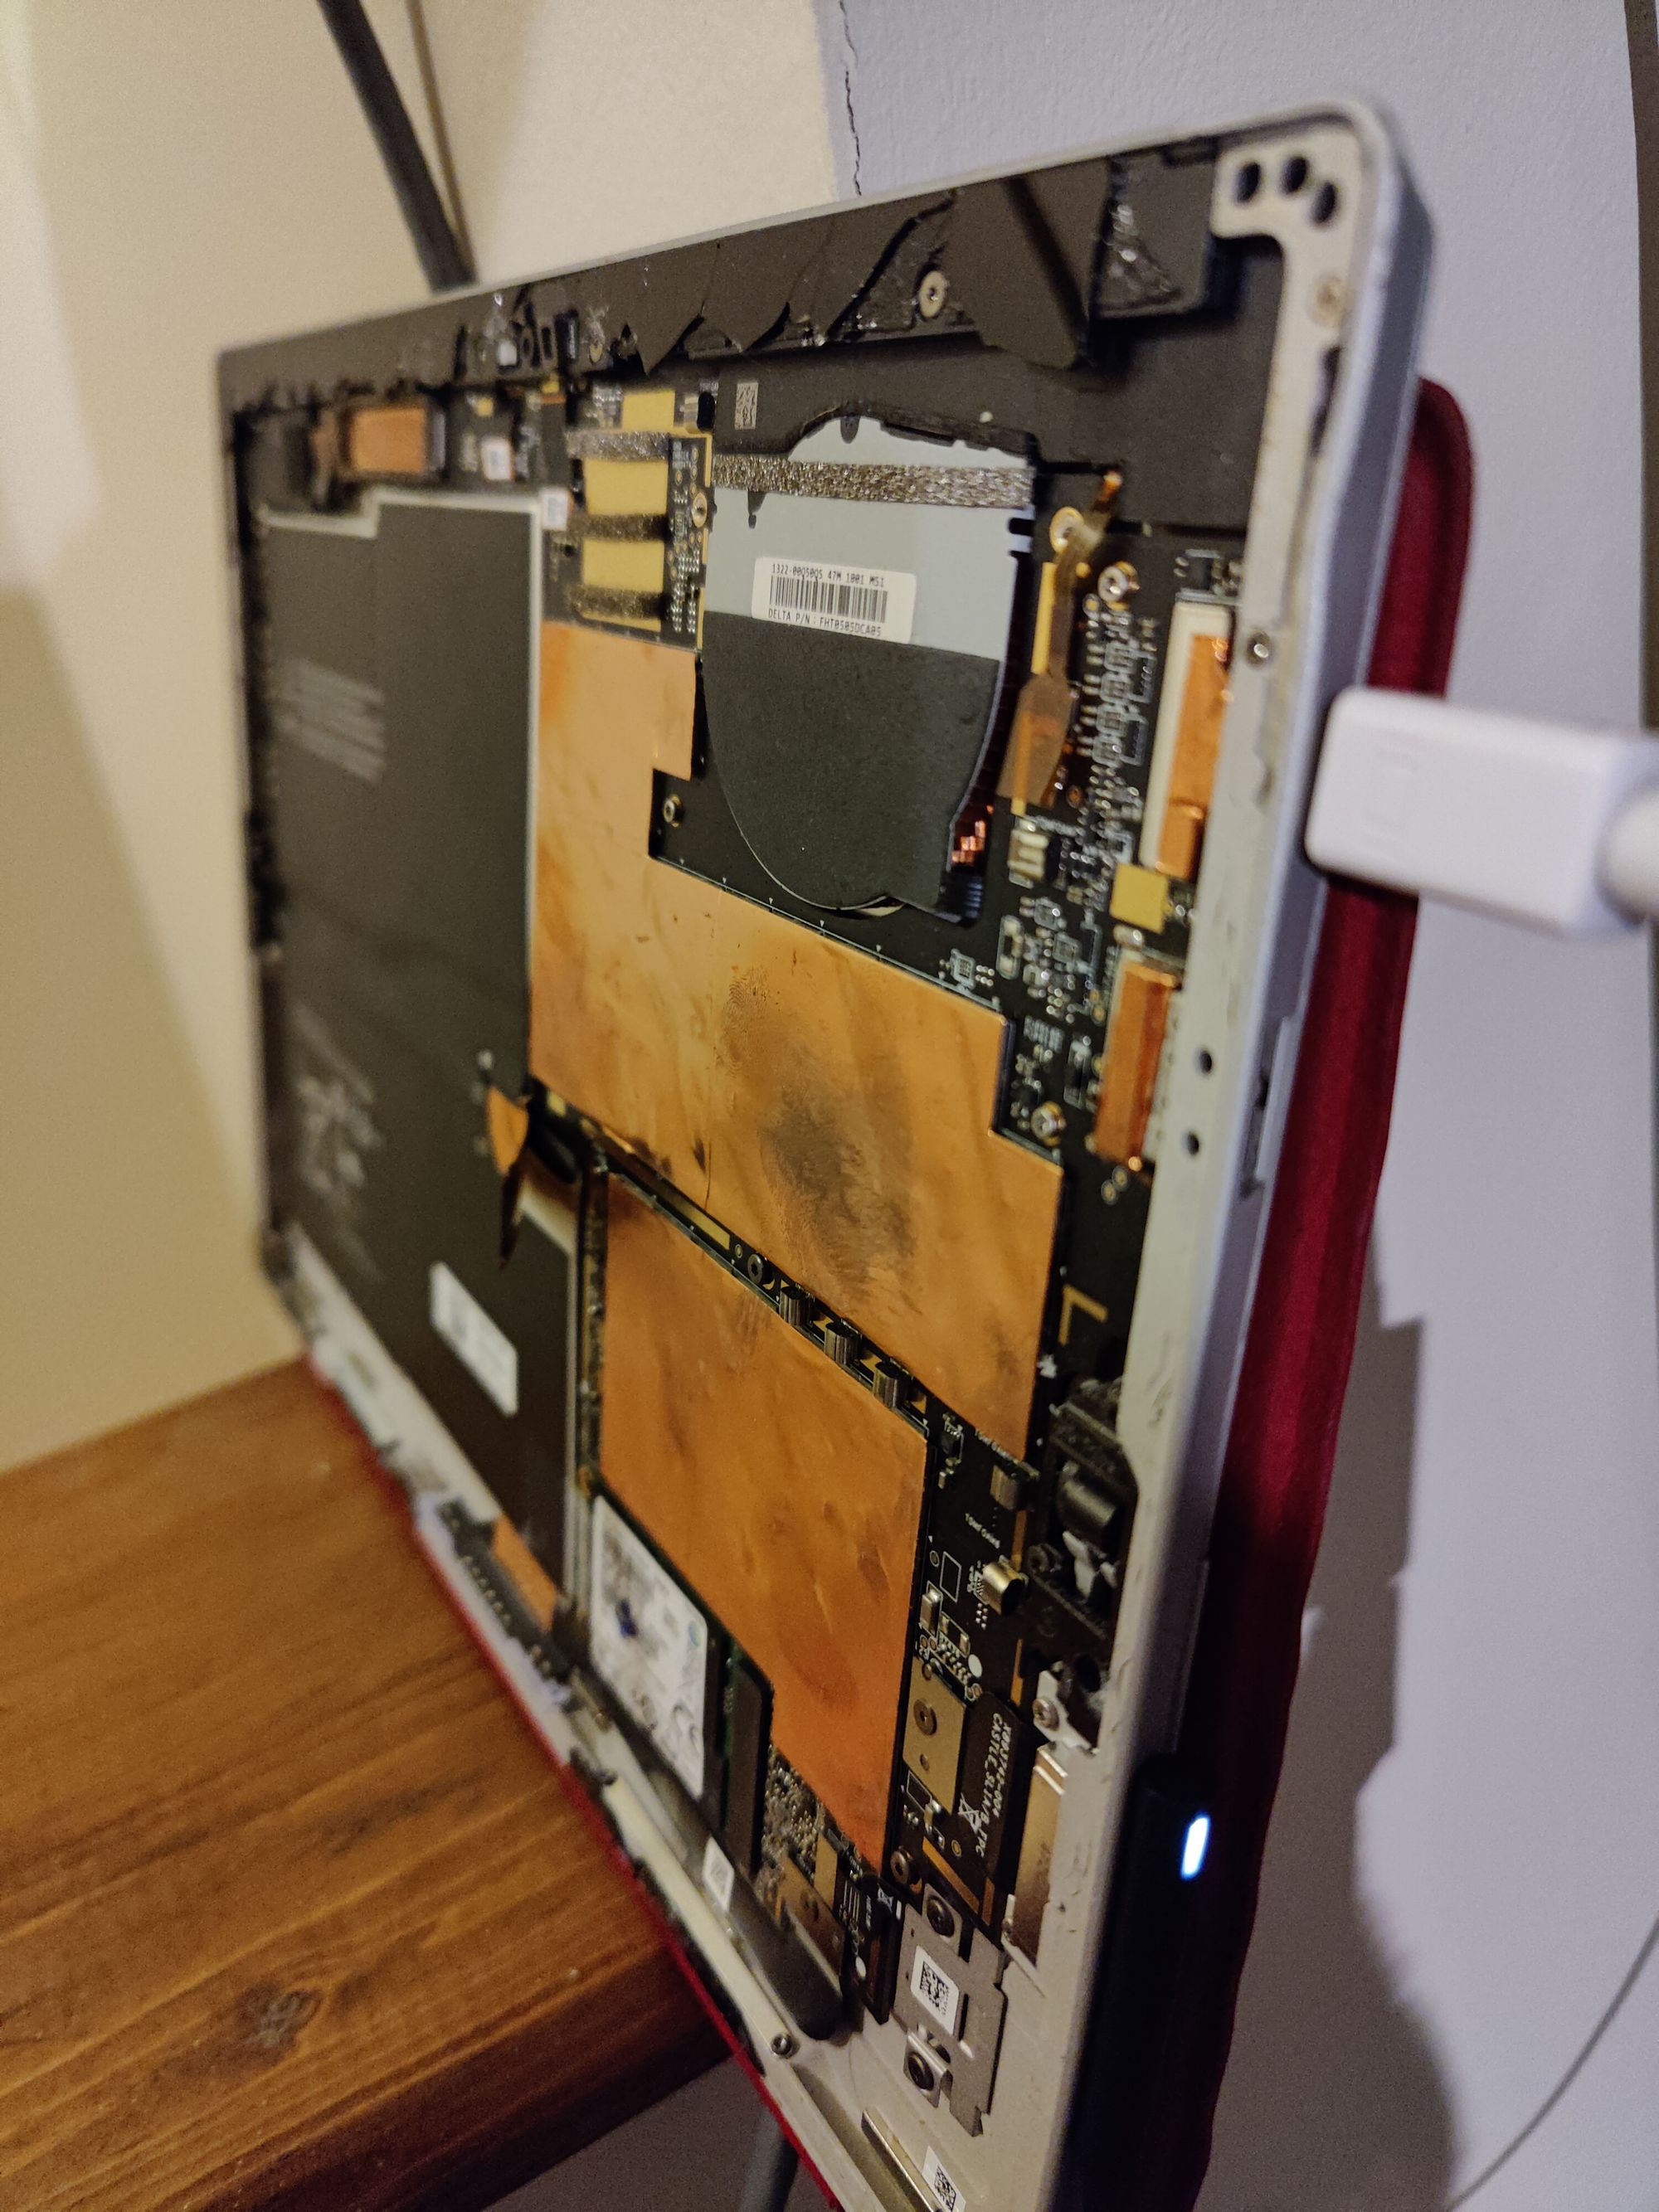
The core my system is running off a broken (yes, broken) Microsoft Surface tablet. A friend had dropped theirs and completely shattered the expensive touchscreen, however the rest of the hardware appeared to be in good shape so I was happy to take it off their hands when they passed it on. After pulling off the remaining glass, I flashed a Linux OS on the SSD to give myself some flexibility and disconnected the battery pack (since I wasn't going to be using it as a mobile device anyway).

The onboard storage was plenty for my purposes and is very fast being flash, so no external drive is needed at the moment. Probably the trickiest thing with the device hardware was getting the WiFi to stop turning off when the computer was idling. You're milage will vary on this since it is specific to the OS flavor. I also may upgrade to a ethernet connection over USB3, but wireless works for now.
Once I had the core system set up I followed the process to install iSpy DVR Agent, however I opted for the Docker container because I wanted it to be portable. This proved to be well documented and easy to do once I got my Docker environment configured. They real trick I found was setting the container to run at boot. I'd never actually messed with this before with Docker containers, but quickly found containers have slightly more complicated rules to run at startup than regular services. Below is what I ended up with for my Systemctl config:
[Unit]
Description=Fire iSpy Container
After=docker.service
Requires=docker.service
[Service]
TimeoutStartSec=0
Restart=always
ExecStartPre=-/usr/bin/docker stop agentdvr
ExecStartPre=-/usr/bin/docker rm agentdvr
ExecStart=/usr/bin/docker run -p 8090:8090 -p 3478:3478/udp -p 50000-50010:50000-50010/udp -v /appdata/ispyagentdvr/config/:/agent/Media/XML/ -v /appdata/ispyagentdvr/media/:/agent/Media/WebServerRoot/Media/ -v /appdata/ispyagentdvr/commands:/agent/Commands/ -e TZ=America/New_York --name agentdvr doitandbedone/ispyagentdvr
ExecStop=/usr/bin/docker stop agentdvr
[Install]
WantedBy=multi-user.target
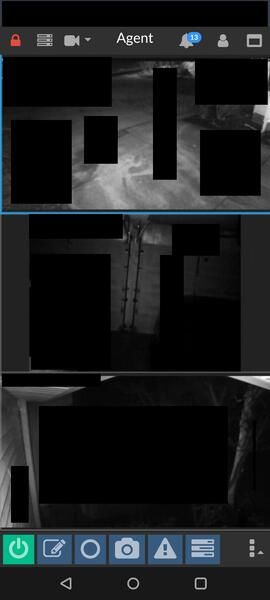
From here I could enable the service as well as start/stop as needed. Once I finally had the Docker container running as a service that started on reboot, I was ready to integrate my cameras. The process is well documented in the service so I won't bother going into detail here, but the result was that several stand-alone webcams from different vendors could now be monitored from a single web page (if you stayed with the free service) or from the app (if you paid). I started out free to make sure everything worked, then quickly wanted to level up my membership so I could both have remote access as well as support the development. I even submitted my little Systemctl service config as on the services Reddit page, but I was labeled as spam :( Anyway, here is the camera feed view via the app:

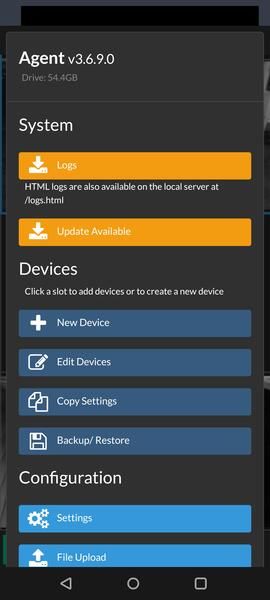
...and a view from the app settings themselves.

Over all I've been very happy with this rig so far. Repurposing old equipment appeals to my thrifty side as well as wanting to keep working equipment out of landfills. There is a lot more to this application I'm exploring, not the least of which is offloading video files to a fileserver, but in it's current fairly stripped down state I have found it both useful and easy to manage.
Happy hacking!
Sources:

